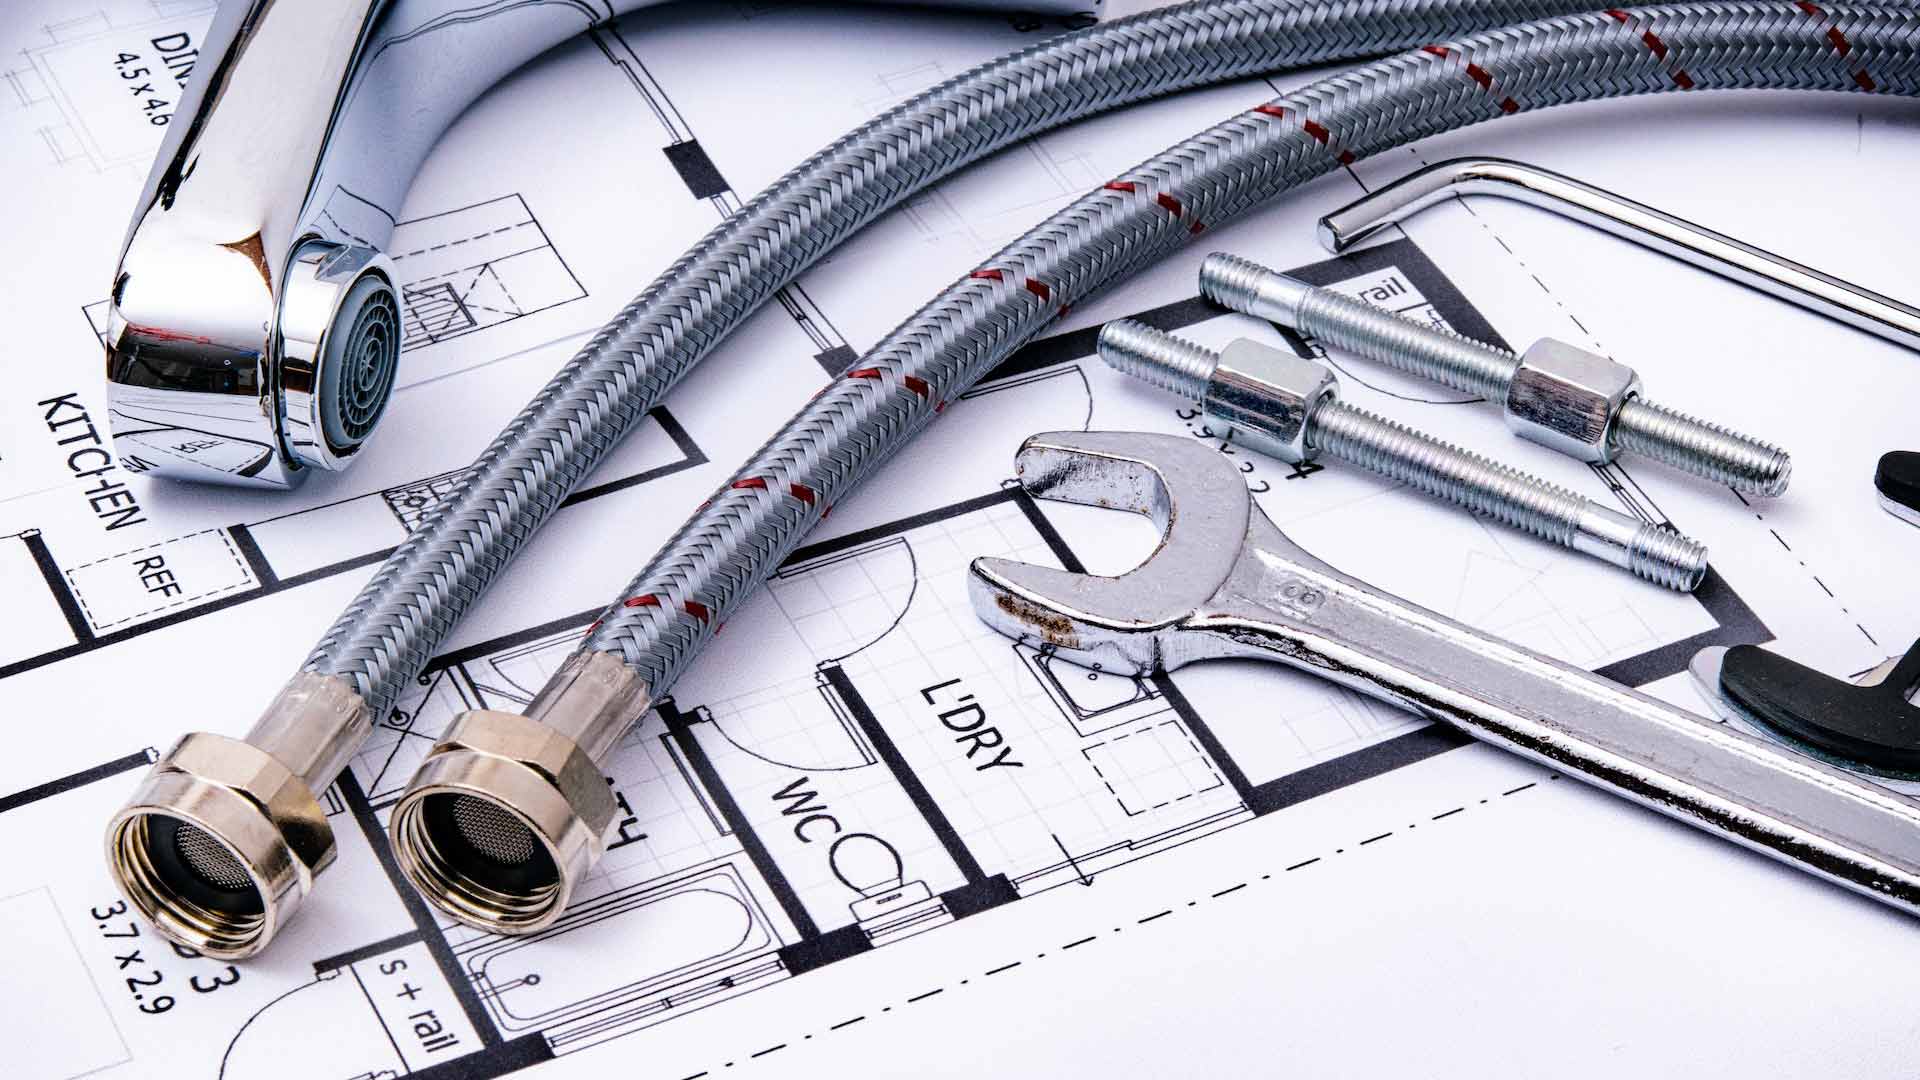
Repiping a house is a significant home improvement project that involves replacing the existing plumbing pipes with new ones. This process is often necessary to address issues like old and deteriorating pipes, frequent leaks, low water pressure, and water quality concerns. Repiping not only ensures the reliability of your home’s plumbing system but also improves the overall safety and efficiency of your water supply. This comprehensive guide should walk you through the steps to repipe a house successfully.
How to Repipe a House
Step 1: Assess the Need for Repiping
Before embarking on a repiping project, it’s essential to assess the condition of your plumbing system. Look for signs such as persistent leaks, discolored or foul-smelling water, low water pressure, and visible corrosion on pipes. Additionally, consider the age of your pipes; older homes with galvanized steel or outdated materials are often prime candidates for repiping.
Step 2: Plan and Gather Materials
Once you’ve determined that repiping is necessary, create a detailed plan for the project. Decide which areas of the house will undergo repiping, and select the type of pipes you’ll use for replacement. Standard options include copper, PEX (cross-linked polyethylene), and CPVC (chlorinated polyvinyl chloride). Consult with a plumbing professional or contractor to help you pick the most suitable materials for your specific needs.
Step 3: Obtain Necessary Permits
Many local jurisdictions require permits for plumbing work, including repiping projects. Check with your local building department to understand the permitting requirements and obtain the necessary permits before starting any work. Failure to do so may result in fines and legal issues down the line.
Step 4: Turn Off the Water Supply
Before beginning any plumbing work, shut off the main water supply to your home. It will prevent water from flowing through the existing pipes during the repiping process and minimize the risk of flooding or water damage.
Step 5: Drain the Existing Pipes
Open the faucets at your home’s lowest and highest points to drain any remaining water from the existing plumbing system. This step will help reduce water spillage and make the repiping process cleaner and more efficient.
Step 6: Remove Old Pipes
Carefully remove the old pipes, taking care not to damage surrounding structures or materials. Depending on the project’s complexity, you may need to cut and unsolder copper pipes, disconnect fittings, or remove pipe straps and supports. Be sure to use the appropriate safety equipment, including gloves and eye protection.
Step 7: Install New Pipes
Install the new pipes according to your previously prepared plan. It may involve soldering copper pipes, using crimp or compression fittings for PEX pipes, or using solvent cement for CPVC pipes. Ensure proper alignment and secure connections to prevent future leaks.
Step 8: Pressure Test the System
After installing the new pipes:
- Conduct a pressure test to identify any potential leaks or weak points in the system.
- Pressurize the pipes with air or water, and monitor for pressure drops or visible leaks.
- Make any necessary adjustments or repairs to ensure the system is watertight.
Step 9: Insulate Pipes (Optional)
Consider insulating the new pipes, especially if you live in a region with extreme temperature variations. Insulation helps prevent heat loss and can protect against freezing in colder climates.
Step 10: Turn On the Water Supply
Once you’re confident that the new plumbing system is secure and leak-free, slowly turn on the main water supply. Check all faucets, fixtures, and appliances for proper water flow and pressure. Inspect for any unexpected leaks during this process.
Step 11: Clean Up and Restore
Clean up the work area and restore any walls, floors, or structures that were affected during the repiping process. It may involve patching drywall, repainting, or replacing flooring materials.
What to Consider in Repiping
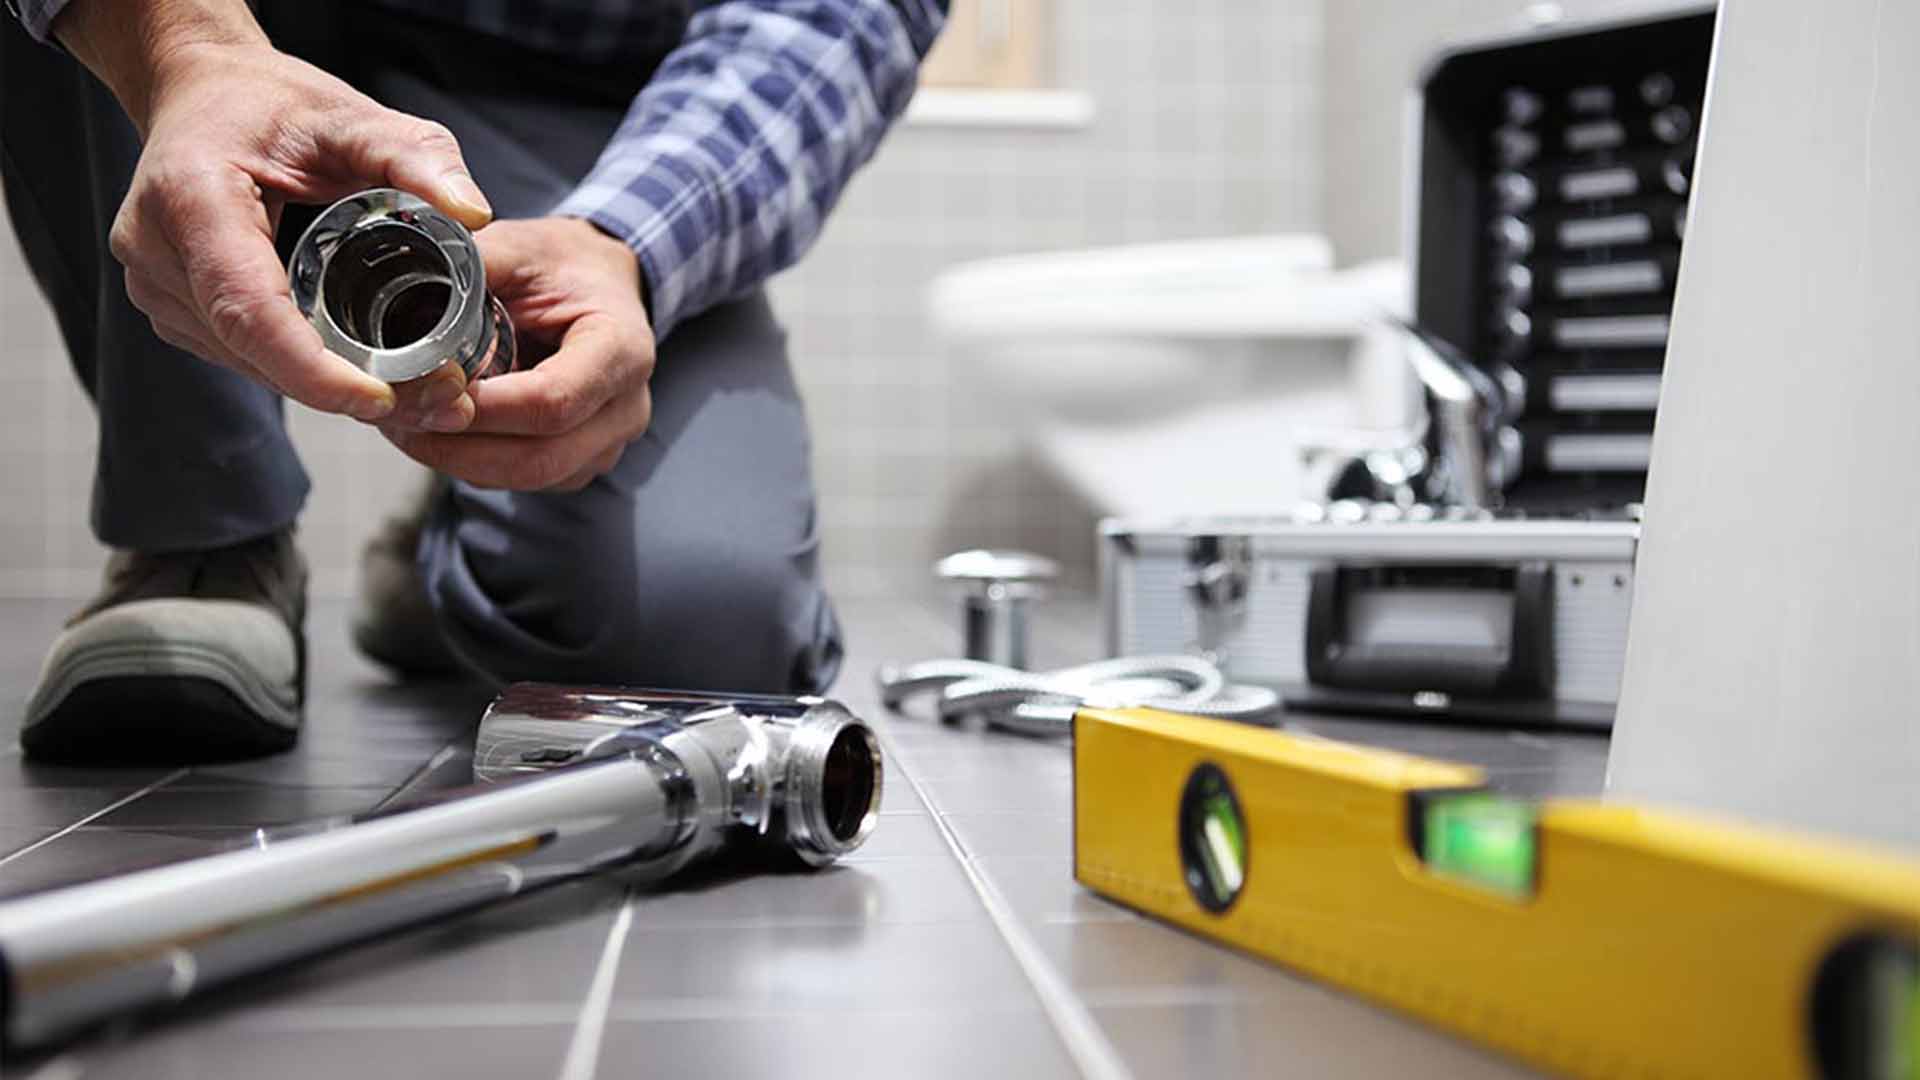
While repiping a house can offer numerous benefits, such as improved water quality, reduced leaks, and increased plumbing system reliability, there are also some disadvantages and challenges associated with the process. It’s essential to be aware of these potential drawbacks when considering a repiping project:
1. Cost
Repiping can be a significant investment. The cost of materials, labor, permits, and any necessary repairs or restorations can add up quickly. Homeowners should carefully budget for the project and be prepared for potential unexpected expenses.
2. Disruption
Repiping work can disrupt your daily life and living conditions. Opening up walls, floors, and ceilings to access plumbing can create dust and debris, and it may require you to vacate certain areas of your home temporarily. The extent of disruption depends on the project’s scope and the layout of your home.
3. Time
Repiping takes a lot of work. Depending on your house size and the plumbing system’s complexity, it can take several days to several weeks to completely repipe. It means you may be without water in certain areas of your home for an extended period.
4. Restoration
After repiping, you’ll likely need to invest time and money in repairing and restoring areas of your home that were opened up during the project. It can include patching drywall, repainting, and replacing flooring materials.
5. Access Challenges
In some homes, gaining access to plumbing pipes can be challenging, especially if they are hidden behind walls, under floors, or within ceilings. These access challenges can increase the project’s complexity and cost.
6. Permits and Inspections
Repiping projects often require permits and inspections, which can add administrative steps and time to the process. Failure to obtain requisite permits can result in legal and financial consequences.
7. Unexpected Issues
As walls and ceilings are opened up, unexpected issues may be discovered, such as hidden damage, structural concerns, or additional repairs that are needed. These unforeseen issues can lead to delays and additional costs.
8. Water Service Interruptions
During the repiping process, the main water supply to your home will need to be turned off. While plumbers will work to minimize disruptions, you may experience temporary water service interruptions.
9. Material Selection
Choosing the right plumbing materials for your repiping project is crucial. The wrong choice can lead to issues like corrosion, leaks, or reduced water quality. It’s essential to consult with a professional to select the most suitable materials for your home.
10. Professional Expertise
Repiping is a complex plumbing project that requires professional expertise. While some homeowners may attempt DIY projects, hiring a licensed plumbing contractor is generally advisable to ensure the work is done correctly and safely.
Despite these disadvantages, repiping can ultimately enhance the safety and functionality of your home’s plumbing system. It’s essential to weigh the drawbacks against the benefits and carefully plan your repiping project to minimize disruptions and ensure a successful outcome. Consulting with a qualified plumbing professional can help you navigate the process and formulate informed decisions about your repiping project.
Cost Associated with Repiping
Repiping a house can vary widely in cost depending on several factors, including the size and layout of your home, the type of materials you choose, the complexity of the project, and your location. Here’s a breakdown of the costs associated with repiping a house:
-
Type of Pipes
The choice of plumbing materials is a significant cost factor:
-
- Copper Pipes: Copper pipes are sturdy and have a long lifespan. They are known for their resistance to corrosion and are often chosen for repiping projects. Copper piping is one of the more expensive options.
- PEX Pipes: PEX (cross-linked polyethylene) pipes are a popular choice due to their flexibility, ease of installation, and affordability. PEX is the new go-to material for a lot of plumbers.
- CPVC Pipes: CPVC (chlorinated polyvinyl chloride) pipes are another affordable option. They are corrosion-resistant and easy to work with.
-
Size of the House
The total piping length needed for your repiping project relies on the size and layout of your home. Larger homes with more plumbing fixtures will require more materials and labor, increasing the overall cost.
-
Labor Costs
Labor costs for repiping can vary based on your location and the project’s complexity. They typically include the removal of old pipes, installation of new pipes, pressure testing, and any necessary repairs to walls or structures. Labor costs can make up a significant portion of the project’s expenses.
-
Permits and Inspections
You may need to obtain permits from your local building department for the repiping project, which can incur additional fees. Inspections may also be required at various stages of the project, and inspection fees can vary.
-
Additional Costs
- Drywall and Structural Repairs: If walls, ceilings, or floors need to be opened up to access the plumbing, you’ll need to budget for repairs and restoration. It can include drywall patching, painting, or replacing flooring materials.
- Fixtures and Appliances: Depending on the extent of your repiping project, you may need to disconnect and reconnect plumbing fixtures and appliances, such as sinks, toilets, showers, and water heaters. It can involve additional labor and material costs.
-
Contingency Budget
It’s wise to put aside a contingency budget of around 10% to 20% of the total project cost to account for unexpected expenses or changes in the scope of work that may arise during the repiping process.
-
Geographic Location
Your area’s cost of living and labor rates can significantly impact the overall cost of repiping. Repiping costs may be higher in urban areas with a higher cost of living compared to rural locations.
-
Quality of Materials
While you can choose from various quality levels of plumbing materials, opting for higher-quality pipes and fittings may increase the initial cost but can lead to longer-lasting and more reliable plumbing systems.
Cost Range:
Given all these factors, the cost to repipe a house can vary from a few thousand dollars for a small, straightforward project to several thousand dollars or more for larger and more complicated repiping jobs.
It’s recommended to obtain quotes from licensed plumbing professionals or contractors who can assess your home’s unique needs and provide a detailed cost breakdown to get an accurate estimate for your specific repiping project. Additionally, be sure to factor in the long-term savings and improved plumbing system reliability that can come from a well-executed repiping project.
How Long to Repipe Your House
The duration of a repiping project can differ significantly depending on a few factors, including the size and layout of your home, the complexity of the plumbing system, the type of materials being used, and the experience of the plumbing professionals conducting the work. On average, a complete house repipe project can take anywhere from a few days to several weeks. Here are some factors that influence the timeline:
-
House Size and Layout
You can typically repipe smaller homes with fewer plumbing fixtures and a straightforward layout more quickly than a larger house with complex plumbing systems.
-
Type of Pipes
The type of pipes being installed can impact the timeline. For example, PEX and CPVC pipes are often faster to install compared to copper pipes due to their flexibility and ease of handling.
-
Access to Plumbing
Accessibility to the existing plumbing plays a significant role. If the plumbing is easily accessible, the project may progress more quickly. However, if extensive wall or floor openings are required to access pipes, repairs and restoration will need additional time.
-
Labor Force
The number of plumbers working on the project can affect the timeline. A larger crew may be able to complete the work more quickly, but this also depends on their experience and efficiency.
-
Complexity of the Plumbing System
Homes with complex plumbing systems, multiple bathrooms, or intricate water supply configurations may require more time for repiping, as there are more connections and potential challenges to address.
-
Permitting and Inspections
The time it takes to obtain necessary permits and schedule inspections can add to the overall timeline. The permitting process can vary by location, and inspections are typically required at various stages of the project.
-
Unexpected Issues
Unforeseen issues or complications, such as hidden damage or the need for additional repairs, can extend the timeline. It’s essential to have a contingency plan for unexpected delays.
-
Drywall and Structural Repairs
If the repiping project involves opening up walls, ceilings, or floors, additional time will be needed for drywall and structural repairs, as well as restoration work.
-
Project Scope
Partial repipe projects focused on specific areas of the house, such as just the kitchen or bathroom, will generally take less time than a complete house repiping project.
-
Contractor Schedule
The availability and schedule of the plumbing contractor can impact when the project can begin and how long it takes to complete.
In general, a professional plumbing contractor will provide an estimated timeline based on your specific project’s details and needs. Discussing the expected duration of the repiping project with your contractor before work begins is essential, as this will help you plan accordingly and minimize disruptions to your daily routine. Keep in mind that while repiping can be an inconvenience, it’s an essential investment in the long-term reliability and safety of your home’s plumbing system.
Repipe Your House with Reliable Plumbing Services
Repiping your home is a challenging task – it takes a lot of time, effort, and skills to do it properly and effectively. With their expertise and experience, it is always best to hire professional plumbing services to repipe your house to ensure a safer and more appropriate work. Contact PROLine Plumbing and Sewer for your plumbing needs today!


